
One Way Tickets Beginner Guide: Progression, Builds, and Tactics
Starting One Way Tickets requires prioritizing spirit energy repairs and crew management at camp rather than chasing heavy weapons. Upgrading your core, assigning companions to multi-workstation devices, and balancing ranged and ramming attacks ensures stable progression across early regions.
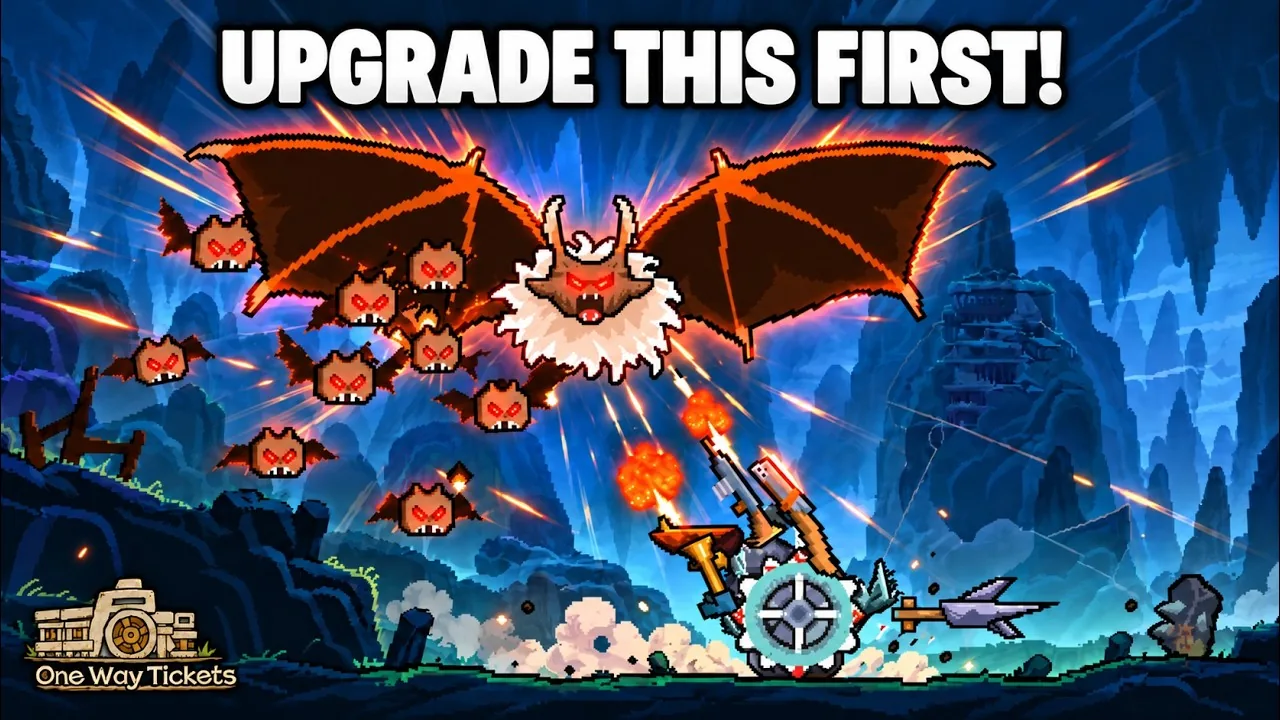
Starting One Way Tickets requires prioritizing spirit energy repairs and crew management at camp rather than chasing heavy weapons. Upgrading your core, assigning companions to multi-workstation devices, and balancing ranged and ramming attacks ensures stable progression across early regions.
Camp Upgrades and Spirit Energy Progression
In One Way Tickets by developer Future Tech., runs end when your spirit energy drains or your installed devices break under enemy assault. Early expeditions should focus on gathering resources to fund permanent enhancements through the Tianmu Astrolabe at camp rather than driving as far as possible on your first outing.
The primary constraint on run length is your spirit energy tank. Address this by purchasing Core Repair in the settlement upgrade tree, which initiates the restoration of your energy pool. Follow this with Storage Repair. After completing three expeditions, the Intact Spirit Core upgrade unlocks, provided you completed Storage Repair first. This milestone restores your core to its full baseline capacity.
Once your baseline energy is stable, you can invest into Core Maintenance through the vehicle depot or unlock Storage Expansion to push your operational limits further. Focusing on camp upgrades that expand energy capacity keeps your vehicle operational long enough to reach lucrative encounters, making structured energy management your foundational task.
Unlocking Early Vehicle Pre-Mounts
Equipping weapons requires navigating the pre-mount branch rather than purchasing random armaments. Pre-mount nodes define the fixed weapon slots on your vehicle and must be unlocked in a strict order:
- Basic External Mounts: Establishes baseline mounting points on the chassis.
- Dagger Pre-Mount and Bow Pre-Mount: Dagger places a short-range defensive blade on the rear, while Bow installs a forward-facing projectile station.
- Machete Pre-Mount and Pistol Pre-Mount: These become accessible after completing your first expedition. They replace the initial dagger and bow slots with higher-tier equivalents rather than adding additional slots.
- Ram Pre-Mount: Available after two expeditions, provided you unlocked both the Machete and Pistol pre-mounts alongside External Mounts. This adds a short spike spear to the vehicle front.
- Vehicle Info Level 1: Requires both Ram Pre-Mount and Intact Spirit Core, opening advanced vehicle customization routes.
Keep in mind that early weapon upgrades replace previous hardware. Installing the pistol removes the bow, shifting how you engage enemies at range.
Workstation Management and Weapon Types
Combat in One Way Tickets requires hands-on operation through the vehicle control panel. You direct movements from below while tracking combat action on the main screen above. Choosing which devices to mount depends directly on how many operators you have available.
Simple weapons require minimal oversight. The Blunderbuss features a single aimed shot station, allowing one person to handle targeting and firing. Advanced armaments demand significantly more labor. The Rotary MG requires three separate workstations to feed ammunition, rotate the turret, and pull the trigger. Equipping a complex weapon without enough hands leaves it sitting idle during critical encounters.
Unlocking the Device Operator node after meeting the Realm Companion requirement allows hired passengers to man individual workstations automatically. The Travel Together node subsequently allows companions to join expeditions right from camp departure, keeping your guns firing while you steer and handle secondary devices.
Companion Roles and Traits
Companions come with fixed and randomized traits that dictate where they perform best. Matching the companion to your current vehicle configuration prevents wasted crew slots.
| Companion | Best Situation | Trade-off or Requirement |
|---|---|---|
| Gauss | Standard direct-fire builds | Provides a flat damage boost without utility bonuses |
| Kevin | Inaccurate ranged projectile setups | Requires placement at an aimed workstation to grant accuracy bonuses |
| Chan | Resource gathering expeditions | Adds 18 loot carrying slots but grants no combat buffs |
| Fay | High-risk damage runs | Boosts device damage and monster drops, but steals items and may depart without notice |
Using companions like Kevin on an aimed weapon station ensures consistent projectile hits against mobile targets. When running short material routes to complete camp structures, placing Chan in your vehicle ensures you return with maximum salvage.
Combat Balancing: Ramming and Ranged Defense
Relying exclusively on forward ramming or solely on ranged guns creates vulnerabilities. Aerial enemies fly above bumper height, completely bypassing frontal spikes and crushing wheels. Conversely, relying only on slow-firing ranged guns leaves you defenseless when fast ground packs close the gap.
Maintain a forward ranged weapon to chip away at incoming swarms and airborne threats. Use the frontal ram to crush isolated ground targets and elite units during clear driving windows. Iron wheels increase crushing power against ground monsters, though their extra weight alters handling.
In-run monolith stops provide opportunities to repair damage and acquire curios. The Tinkerer upgrade adds repair encounters at warding monoliths, while the Toolbox upgrade allows you to perform field maintenance directly. Straightforward curios like White Daisy grant a universal damage increase to all mounted devices, strengthening your current build without imposing tactical restrictions.
Resource Conversion and Material Farming
Loot gathered during an expedition converts into specific settlement currencies upon return. Collecting items indiscriminately can leave you short of the exact currency needed for your target upgrade:
- Weapon Handles: Convert into materials for structural and chassis repairs.
- Hopper Hind Legs: Convert into food supplies at settlement.
- Copper Coins: Function as temporary currency spent at traveling merchants during the expedition itself.
- Settlement Vaults: Store mileage tickets, materials, food, treasure, and arcane energy.
Check the cost requirements of your next planned Astrolabe node before departing. If you need materials, focus on defeating mechanical or armed foes rather than beasts that yield food items. Expanding your cargo hold capacity early ensures these targeted runs yield sufficient resources in fewer trips.
Clearing Early Region Bosses
Progressing through regions does not require clearing every encounter in a zone. The Great Lake route contains 18 sections, but the primary milestone is Abyssal Fang at section 6. Defeating Abyssal Fang opens the Sand Marsh region.
Abyssal Fang circles the vehicle before lunging in for rapid bite attacks. Protect the side and rear devices exposed to its flight path. Dealing sufficient burst damage during its approach interrupts the bite sequence, creating an opening to repair damaged workstations and reload projectile weapons. Defeating later regional bosses continues this unlock cycle: Giant Tumbleweed grants access to Canafy, while Sky Shriek unlocks the Abyssal Ruins. Build for section 6 first, secure the Sand Marsh route, and expand your vehicle from the new staging area.
Next step
Camp Upgrades
Select the most effective Tianmu Astrolabe camp upgrades to expand energy, equip weapon mounts, and operate vehicle devices.
Related Guides
Dashboard Controls
Learn how the lower dashboard operates, manage manual mouse inputs, and assign companions to run vehicle workstations efficiently.
Vehicle Builds
Learn how to assemble balanced vehicle builds in One Way Tickets using proper chassis choices, device workstation pairing, and companion crew assignments.