
One Way Tickets Vehicle Builds: Chassis, Device Synergies, and Crew Setup
Effective One Way Tickets vehicle builds balance physical ramming equipment with ranged device coverage and companion workstation assignments. Matching chassis mobility with low-maintenance weapons allows your crew to manage incoming threats without depleting power reserves before reaching regional bosses.
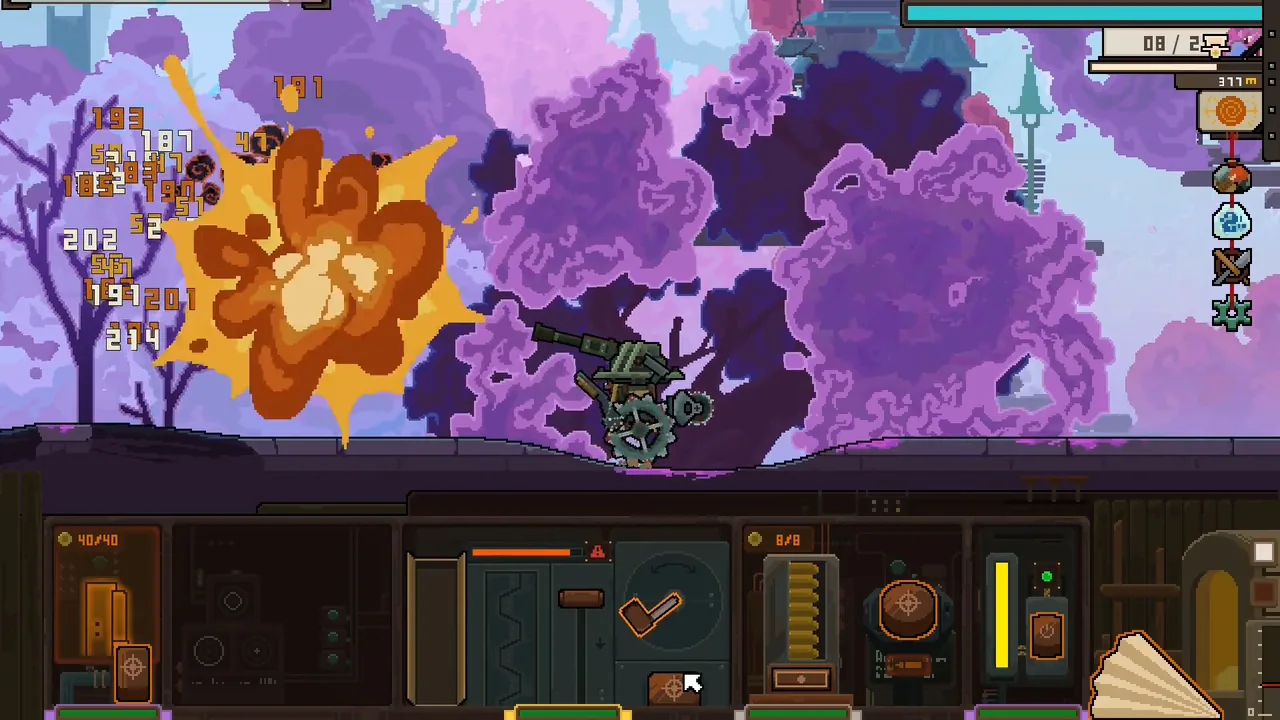
Effective One Way Tickets vehicle builds balance physical ramming equipment with ranged device coverage and companion workstation assignments. Matching chassis mobility with low-maintenance weapons allows your crew to manage incoming threats without depleting power reserves before reaching regional bosses.
Building a functional battle wagon requires looking past base damage figures. Every piece of equipment mounted to your chassis demands manual crew input or specific driver positioning. Balancing workstation labor against your actual team capacity dictates whether a loadout survives extended combat routes across different biomes.
Early Equipment Branches and Upgrades
Vehicle construction begins at camp through the Tianmu Astrolabe tree. Your earliest runs provide settlement currencies like materials and mileage tickets to unlock basic external mounts. The dagger pre-mount equips a small defensive blade on the vehicle rear, while the bow pre-mount establishes forward projectile coverage.
After completing initial expeditions, the machete and pistol pre-mount upgrades become available. These upgrades replace existing mounts instead of adding additional device slots. Progressing through two journeys unlocks the ram pre-mount, which attaches a frontal spike spear once prerequisites are cleared. Reaching Vehicle Info Level 1 requires both the ram pre-mount and the intact spirit core, allowing deeper mechanical customization.
Longer travel routes demand steady power before offensive additions pay off. Planning your camp upgrades around core repair and storage expansion keeps your wagon operational long enough to test upgraded armaments against tougher threats.
| Build Focus | Best Operational Scenario | Hardware and Crew Requirement |
|---|---|---|
| Momentum Ramming | Burst damage against elite ground targets | High vehicle acceleration, frontal ram spike, heavy chassis |
| Kinetic Crowd Control | Stripping swarms before impact | Dual kinetic blasters, high crew aiming stats |
| Low-Crew Defense | Solo runs or early stages with one passenger | Single-workstation weapons, White Daisy curio, Blunderbuss |
Device Workstation Management and Crew Pairing
Mounting advanced weaponry without adequate crew stops your vehicle from firing. A Blunderbuss requires only a single aimed station, letting a solo driver fire while steering. In contrast, the Rotary MG demands three separate workstations to aim, feed ammunition, and turn the barrel. If nobody operates those stations, the weapon remains completely idle.
Unlocking the Device Operator perk after meeting the realm companion prerequisite allows passengers to run workstations. Adding Travel Together permits companions to join departures from the start. Choosing the right crew member directly determines which devices function reliably:
- Kevin: Combines combat training with an accuracy boost on the assigned station, making him well-suited for manual projectile weapons.
- Gauss: Provides a flat combat training damage bonus across connected armaments.
- Chan: Grants the Overload trait, adding 18 slots to your item inventory for resource collection rather than weapon buffs.
- Fay: Delivers high operated device damage and bonus monster drops, but carries negative risks including spontaneous departure and item theft.
Selecting companions whose traits complement your weapon stations prevents vehicles from stalling during frantic waves.
Chassis Selection and Collision Handling
Frontal collisions serve as a direct attack system rather than an accidental impact. The Scout chassis favors quick repositioning and high acceleration, allowing rapid turns to dodge incoming barrages. The Heavy Bruiser chassis offers elevated hull durability and higher base mass, absorbing stray projectile hits and increasing impact force against ground swarms.
Wheel selection alters handling characteristics on the road. Iron wheels deliver crushing force against road-bound targets, but their high weight lowers overall vehicle acceleration. Ramming gear also lacks scaling from standard melee size bonuses, meaning driver angle and velocity dictate damage output.
Collision combat must be balanced with overhead defense. Ground spikes cannot hit flying targets, leaving vehicles vulnerable to aerial attacks unless paired with ranged hardware.
Adapting Builds for Regional Encounters
Specialized vehicle builds must match the combat profile of target zone encounters. Defeating Abyssal Fang at section six of Great Lake unlocks access to Sand Marsh. Because Abyssal Fang circles the wagon before lunging in for rapid bite attacks, front-heavy ram builds must hold defensive angles or utilize brief damage windows to disrupt the boss assault cycle.
Later targets demand different configurations. Giant Tumbleweed guards the path to Canafy, while defeating Sky Shriek opens the Abyssal Ruins. Equipping repair tools such as the Toolbox upgrade ensures damaged weapons remain operational between encounter phases, protecting critical systems before vehicle armor fails. Combining stable energy management with balanced weapon ranges ensures your vehicle survives long enough to clear stage routes and extract valuable settlement supplies.
Next step
Biomes and Stages
Understand the four Early Access biomes, sub-scene structures, and environmental hazards to prepare your vehicle for every road expedition.
Related Guides
Beginner Guide
Learn how to manage spirit energy, assign companion workstations, unlock early vehicle pre-mounts, and clear initial region bosses in One Way Tickets.
Dashboard Controls
Learn how the lower dashboard operates, manage manual mouse inputs, and assign companions to run vehicle workstations efficiently.